Russian
 English
 German
 Japanese
 Korean
 Spanish
 French
 Italian
 Portuguese

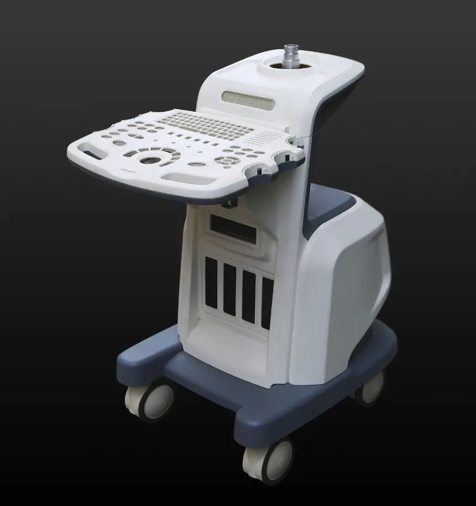
Быстрое прототипирование isn’t one process, really. It’s more like a set of steps, and each one answers a different question. Let’s walk through them in the order you’d typically use, from the first rough model to a small production batch.
Start With 3D Printing
3D printing comes first, almost every time. You can hold the part in a day or two, which is hard to beat. Unusual shapes aren’t much of a problem, either. An internal channel or a curved lattice that would be difficult to machine costs about the same as a plain block. Ordering several parts at once can also improve cost efficiency because the printer can produce multiple parts in one build.
Choose the Right 3D Printing Technology
The printer you choose depends on what you need to test:
- SLA (Stereolithography): Suitable for smooth surfaces, detailed models, and appearance-focused prototypes.
- SLS (Selective Laser Sintering): Useful for functional plastic parts, snap fits, and complex geometries, depending on the material selected.
- FDM (Fused Deposition Modeling): A cost-effective option for checking dimensions, basic fit, and general shape.
- SLM (Selective Laser Melting): Used to produce metal parts for applications that require metal properties and complex geometries.
Understand the Limitations of 3D Printing
The limits are real, though. Printed parts may have dimensional tolerances around ±0.2 mm, depending on the process, material, geometry, and supplier. Some printed parts are also weaker in one direction because the bonds between layers can be weaker than the material within each layer.
For this reason, a basic 3D print may not be suitable for validating a tight press fit or a demanding load-bearing application. Check the supplier’s tolerances and material specifications before ordering.
Move to CNC Machining When the Part Must Work
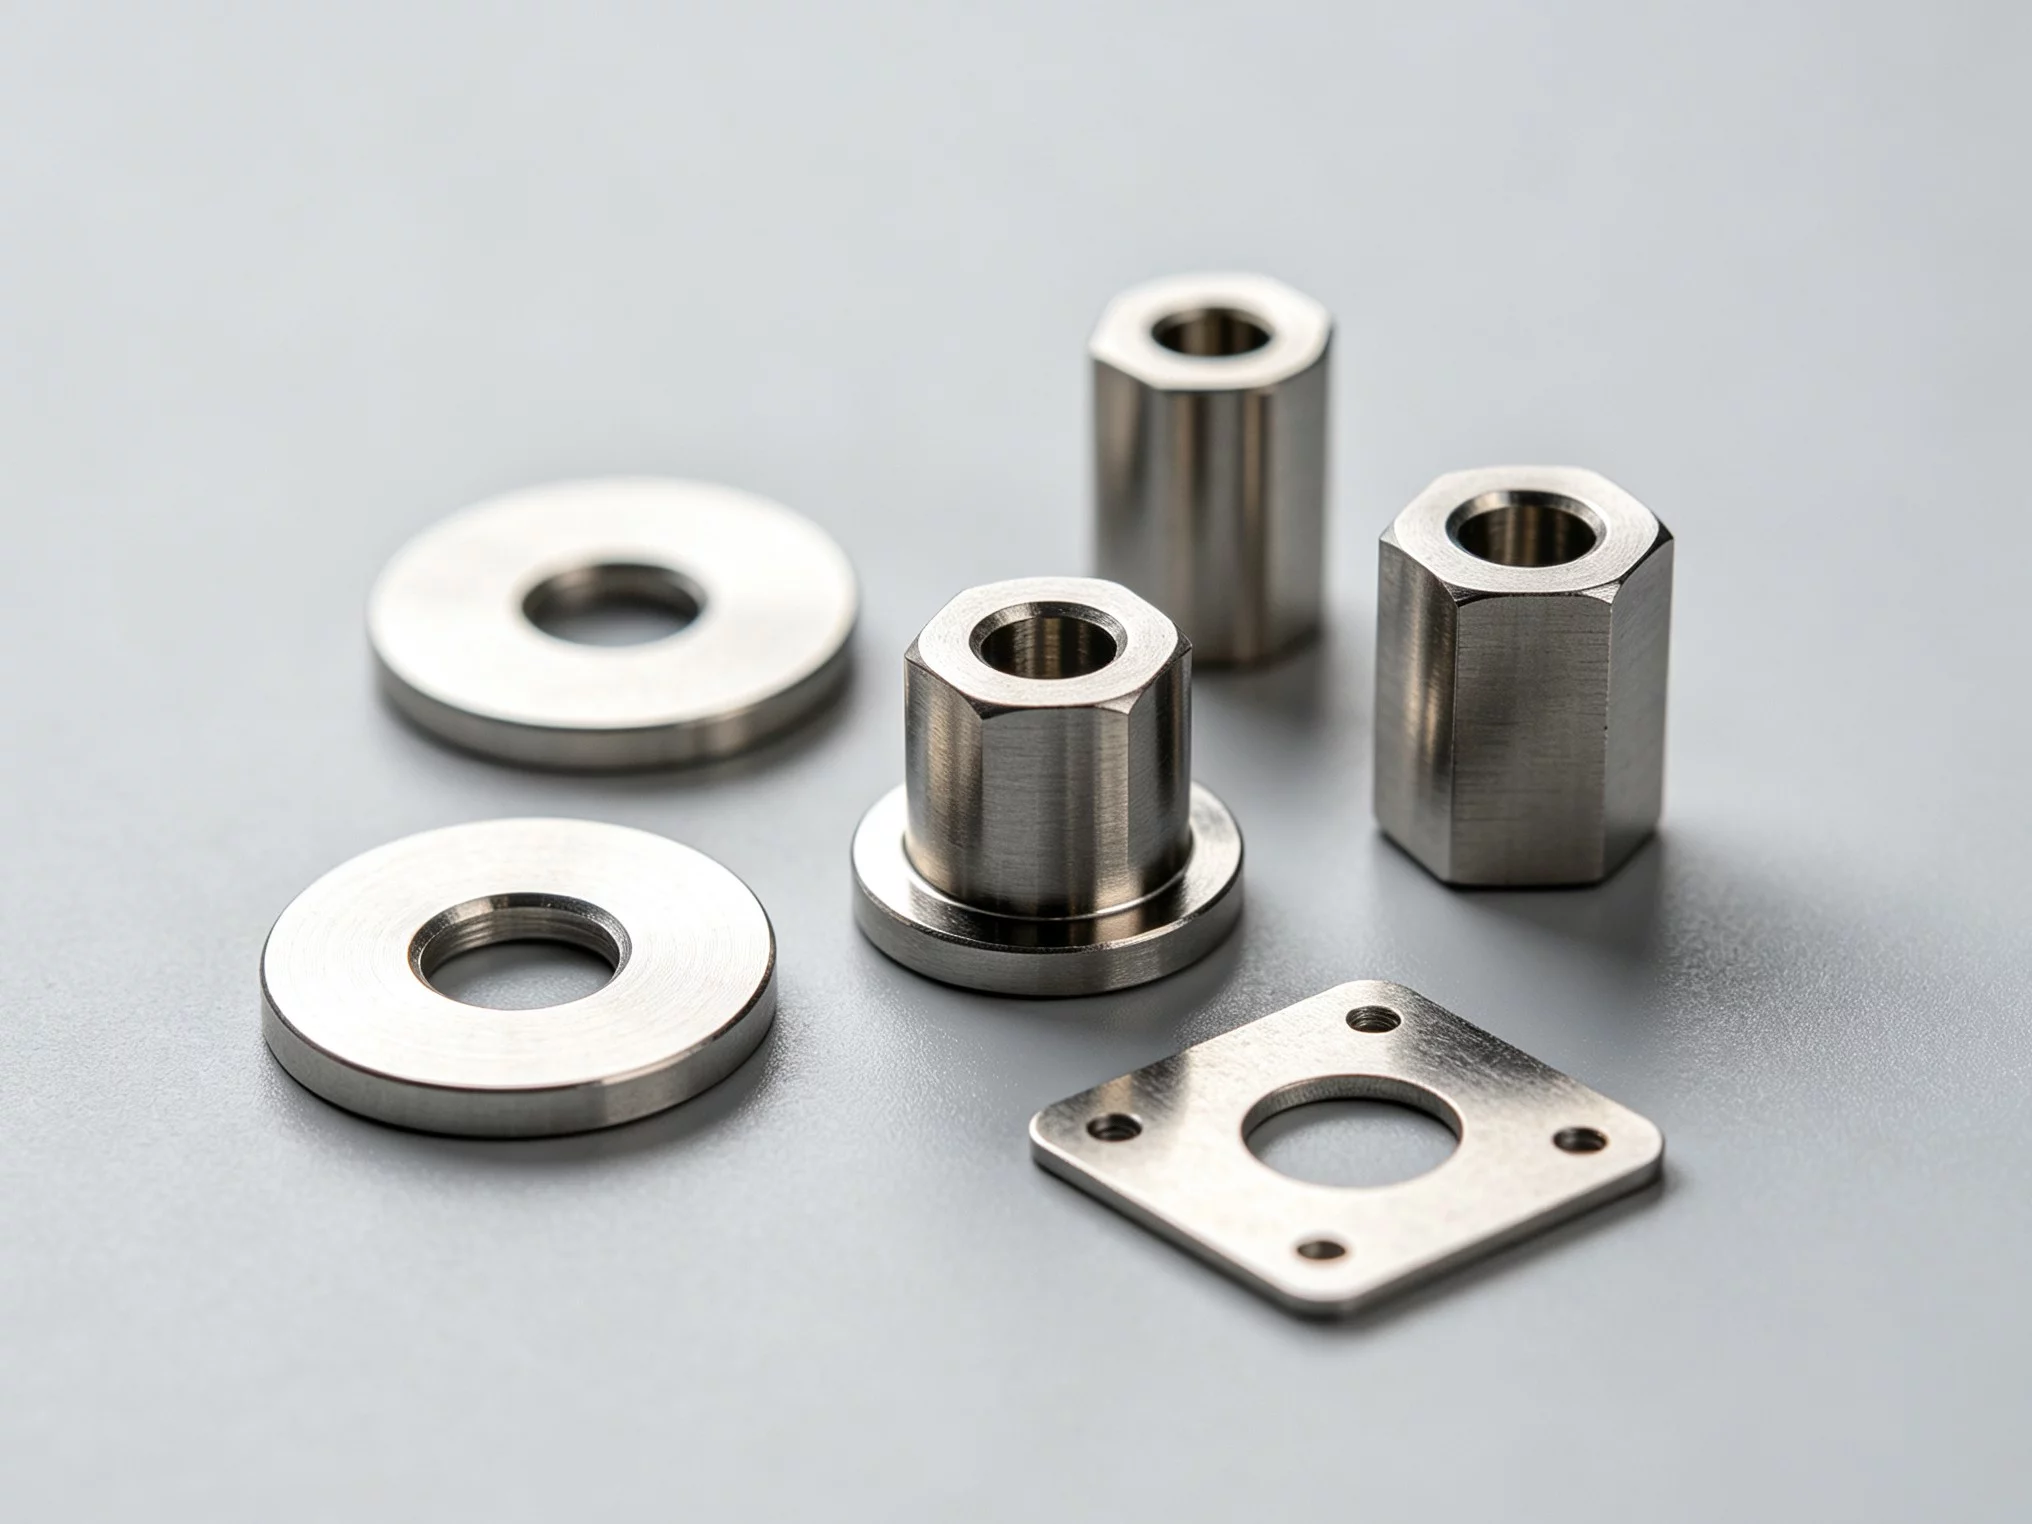
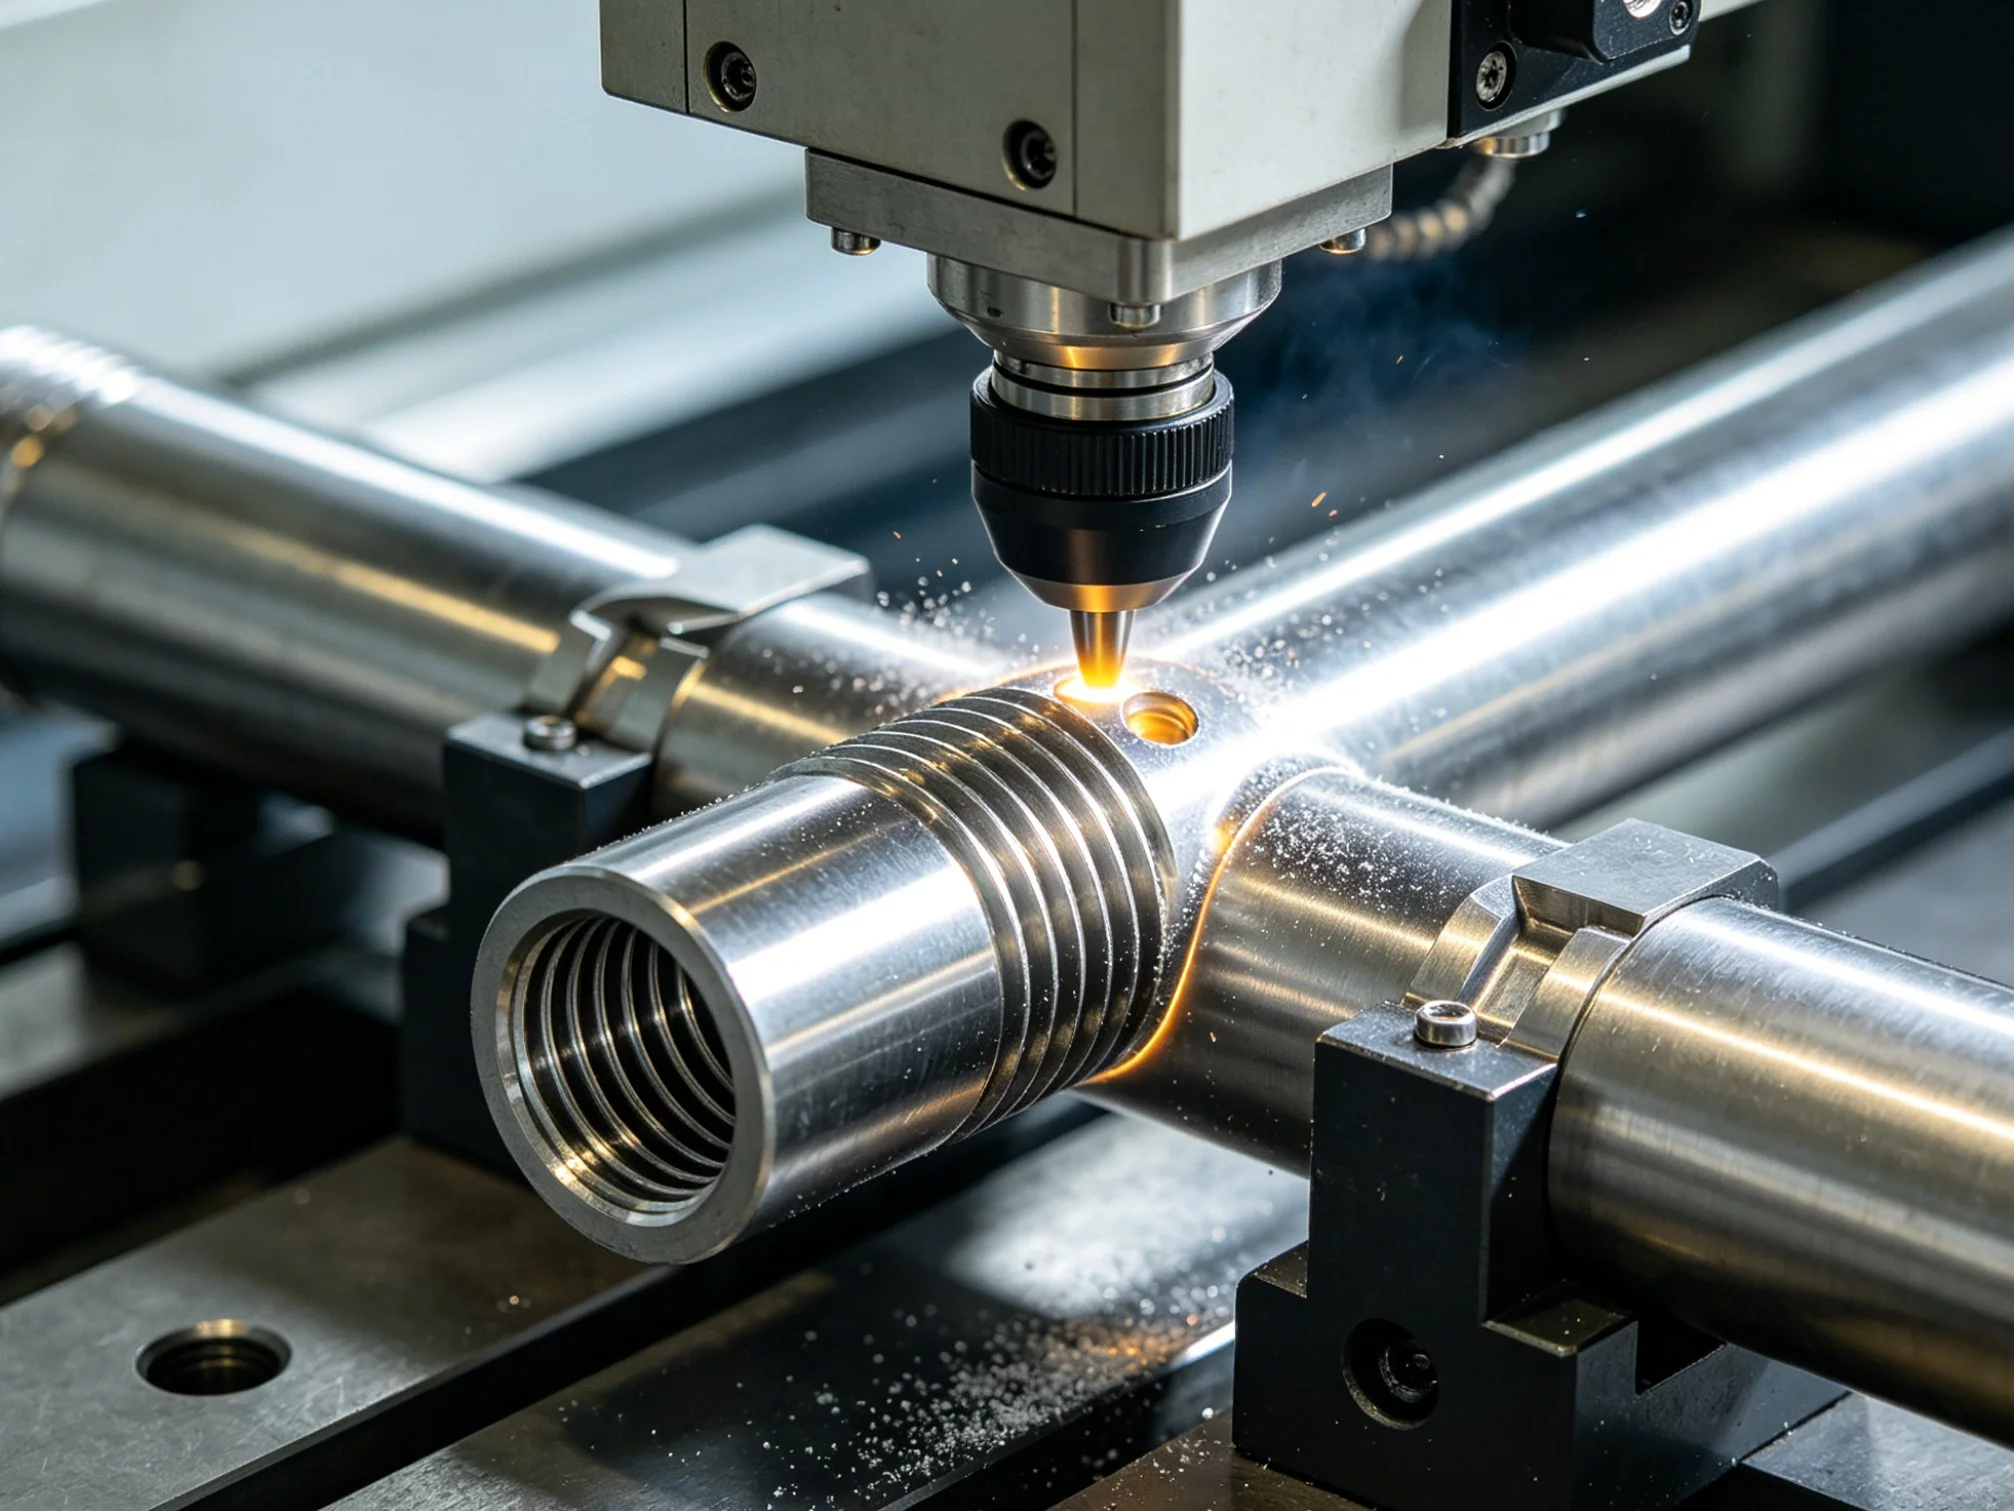
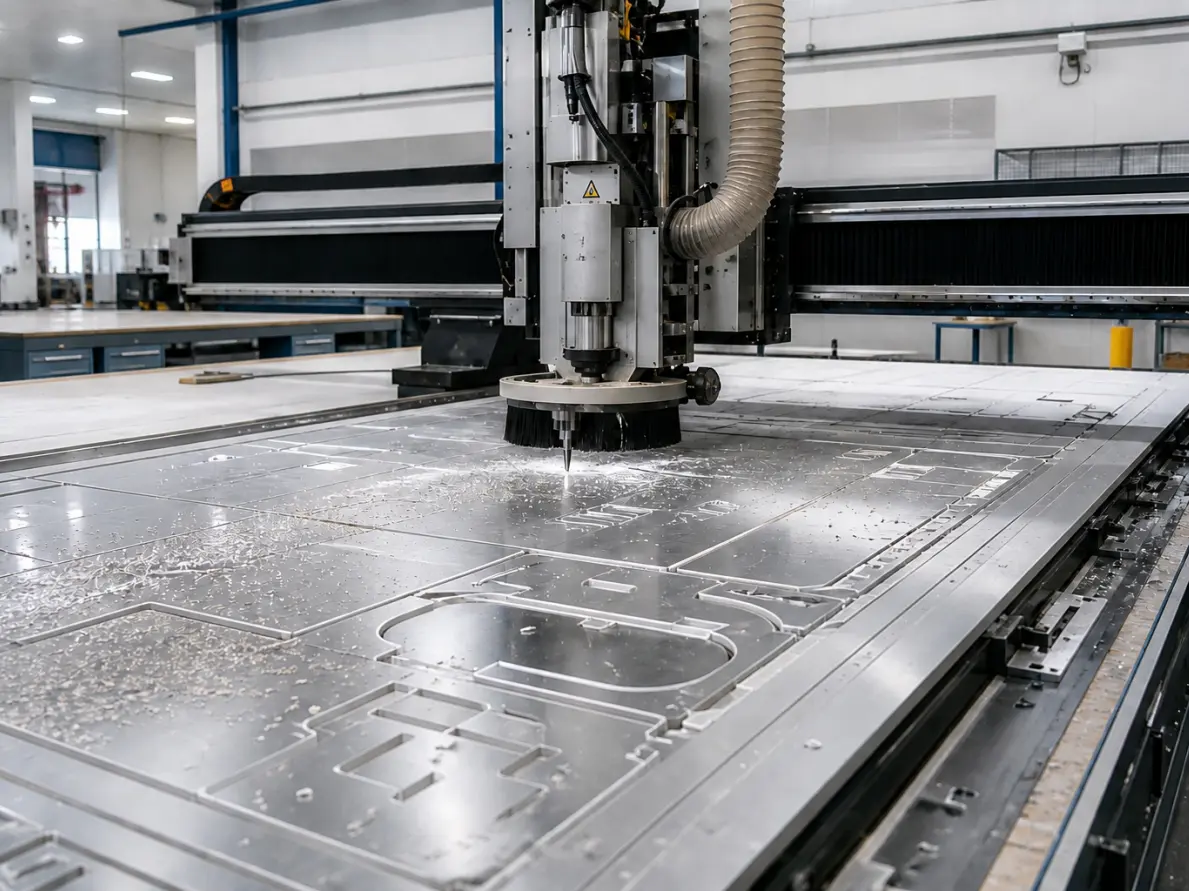
Once the shape stops changing, you’ll want a part that behaves more like the final product. That’s when Обработка на станках с ЧПУ earns its place. It removes material from solid stock, allowing you to use materials such as 6061 aluminum, stainless steel, brass, and Delrin.
Tolerances of ±0.05 mm are achievable for many machined features, and ±0.01 mm may be possible where the material, geometry, equipment, and inspection requirements support it. Threads, sliding fits, and load tests can then provide more realistic feedback.
When Is CNC Machining Worth the Cost?
Machining generally costs more per part than basic 3D printing, and complex geometry can increase setup and machining time. However, it becomes valuable when you need accurate dimensions, production-grade materials, or reliable functional testing.
My advice? Don’t machine version one. Print it, test it, identify problems, and revise the design. Then machine the version you trust.
Vacuum Casting for Small Batches
Now picture needing twenty decent-looking parts for a trade show or user test. Printing every part may take time, while machining each component can become expensive. Вакуумное литье is an option worth considering for this stage.
How Vacuum Casting Works
The process is simpler than it sounds. A master part, usually an SLA print or a machined component, is used to create a silicone mold. Once the silicone cures, the mold is opened and the master is removed.
Polyurethane resin is then poured into the mold under vacuum to help reduce trapped air bubbles. The resulting copies can resemble injection-molded plastic parts, with options for different colors, surface textures, and flexible or rubber-like material properties.
Production Volume and Accuracy
Silicone molds have a limited service life. Around 20 good-quality copies per mold may be achievable, although the actual number depends on the mold design, resin, part geometry, and handling. Dimensional tolerances around ±0.2 mm may be possible, depending on the part and supplier.
Vacuum casting is therefore useful for appearance models, product evaluations, and small functional batches. If demand moves into the hundreds or thousands, compare it with other manufacturing methods.
Save Die Casting for Locked Designs
Литье под давлением is at the other end of the manufacturing process. Molten aluminum or zinc is injected into a steel die, and parts can be produced in rapid cycles. Once production volume is high enough, the cost per part can fall substantially.
The trade-off is tooling. Steel dies can require a significant upfront investment and several weeks of preparation, depending on complexity and supplier capacity. Die casting is generally most attractive when the design is stable and the expected production volume justifies the tooling expense.
Design Considerations Before Ordering Tooling
Make sure the design is ready before committing to a production die. Ask your manufacturer to conduct a design-for-manufacturing review. They can identify thick sections that may cause porosity, shrinkage, or other casting defects.
- Draft angles: Draft of approximately 1° to 3° may be suitable for some features, depending on the geometry and die design.
- Wall thickness: Aim for consistent walls. A range of roughly 1.5 to 3 mm may suit some aluminum die-cast components, but the appropriate thickness depends on the alloy and part design.
- Tooling changes: Changes after the steel die has been manufactured can be slow and costly.
Let Quantity Guide You
Production quantity is a useful starting point when selecting a manufacturing process. The following ranges are general guidelines, not fixed rules.
- 1–5 parts: Consider 3D printing or CNC machining.
- 5–50 parts: Consider vacuum casting, 3D printing, or machining, depending on the requirements.
- Hundreds or thousands: Evaluate low-volume injection molding, die casting, or another production process appropriate for the material.
These ranges are a starting point. A palm-sized housing may justify tooling at a different production volume than a small clip because part size, complexity, material, and finishing requirements affect the overall cost.
Compare Quotes Before You Decide
Try asking your supplier to quote the same part using two different processes. The price difference can be surprising, and the comparison helps you understand the trade-off between upfront investment and per-part cost.
Производство по запросу can also support a staged approach. You might order 30 parts now and 300 later, without immediately committing to high-volume tooling. Ask your supplier about file storage, repeat-order pricing, and whether future batches can use the same specifications.
Know What Each Prototype Is For
One habit can save money throughout the prototyping process: decide what each prototype needs to prove before you order it.
- Fit testing: A cost-effective print may be enough to check dimensions and assembly.
- Strength testing: Use a suitable material and manufacturing process that reflect the intended application.
- Appearance testing: Prioritize surface quality, color, texture, and finishing.
- Production validation: Check material properties, tolerances, repeatability, and assembly requirements.
Write the purpose directly on the drawing or purchase specification. For example, use notes such as “fit test only” or “load test to 50 N” where appropriate. Clear requirements help manufacturers recommend a suitable process without charging for unnecessary tolerances or finishes.
Don’t Forget Finish and Fit
People judge prototypes by their appearance, whether or not that is the main purpose of the build. Raw 3D prints can show visible layer lines, so ask about sanding, priming, painting, or other finishing options.
Nylon parts may be dyed, while resin parts can often be sanded and clear-coated. For machined parts, bead blasting or anodizing may provide the surface appearance and protection you need. Good Отделка поверхностей can help a prototype look much closer to a finished product during a client presentation or product review.
Check Assembly Before Shipment
Assembly matters, too. If six parts must fit together, ask the manufacturer to test-fit the components before shipping. Confirm clearances, mounting holes, threads, and alignment where necessary. Finding a mismatch at the supplier’s facility is usually easier than discovering it after the parts arrive.
Заключение
Rapid Prototyping works best when each stage has a clear purpose. 3D prints help validate the shape. CNC-machined parts help determine whether a design works with the intended material. Vacuum casting supports small batches, while die casting becomes attractive when the design is stable and production volumes justify the tooling.
Skipping a stage can cost you money or weeks of rework. Tell your manufacturing supplier what stage you’re at, what you need to test, and what you still need to learn. With clear requirements and a suitable process, you can make better decisions, control costs, and move toward production with greater confidence.