Portuguese
 English
 German
 Russian
 Japanese
 Korean
 Spanish
 French
 Italian

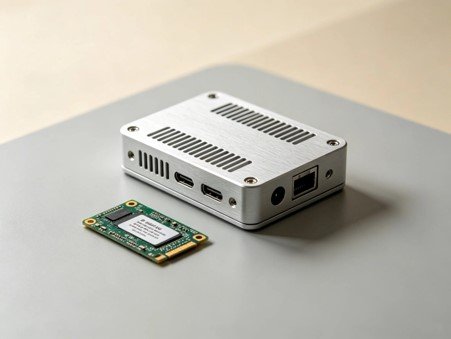
An engineer sent me a drawing once for a controller box. He’d designed the circuit board down to the last pin. The box? An afterthought. “Just something to hold it,” he said. Three weeks later he was back. The connector cutout sat 2 mm off, and the lid wouldn’t close over a capacitor nobody had measured. A Gabinete personalizado is where good electronics go to get embarrassed. Here’s how I’d build one so it fits on the first try.
Why Route an Enclosure
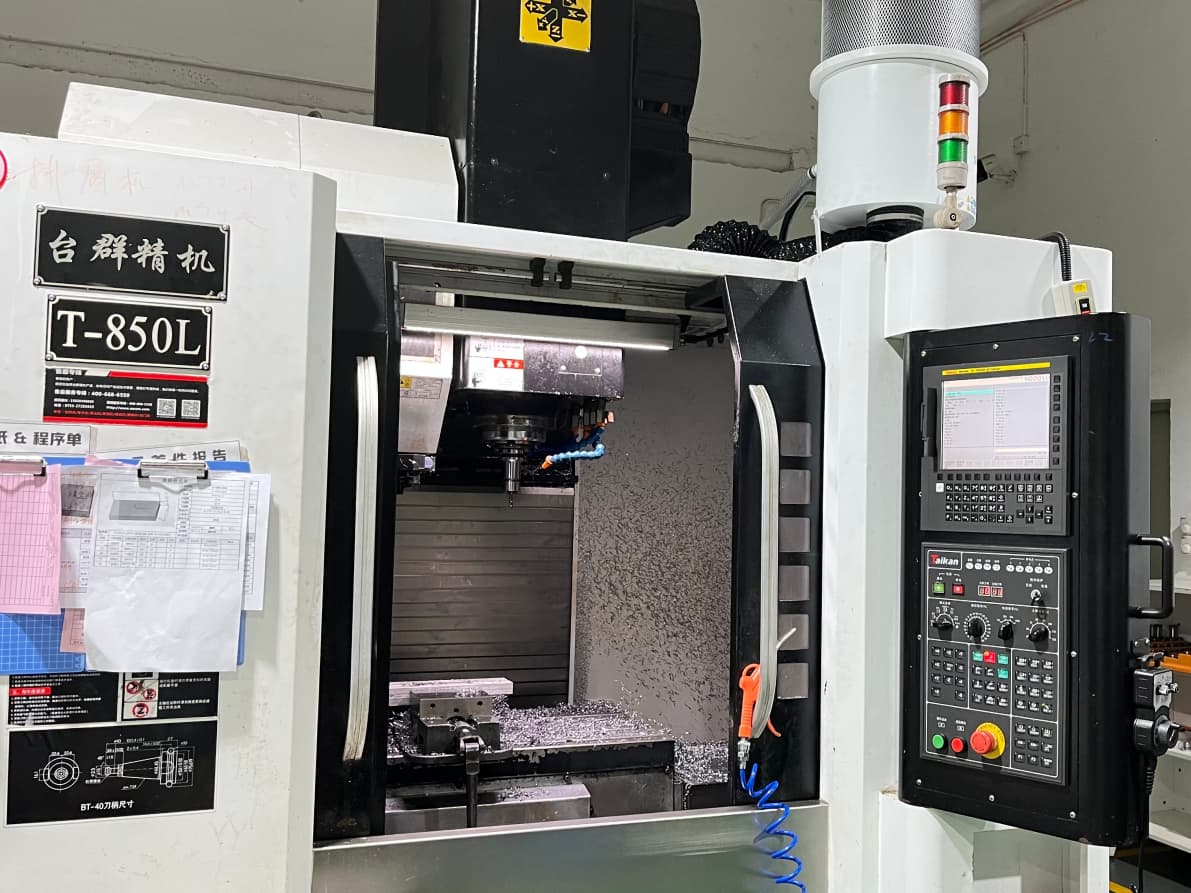
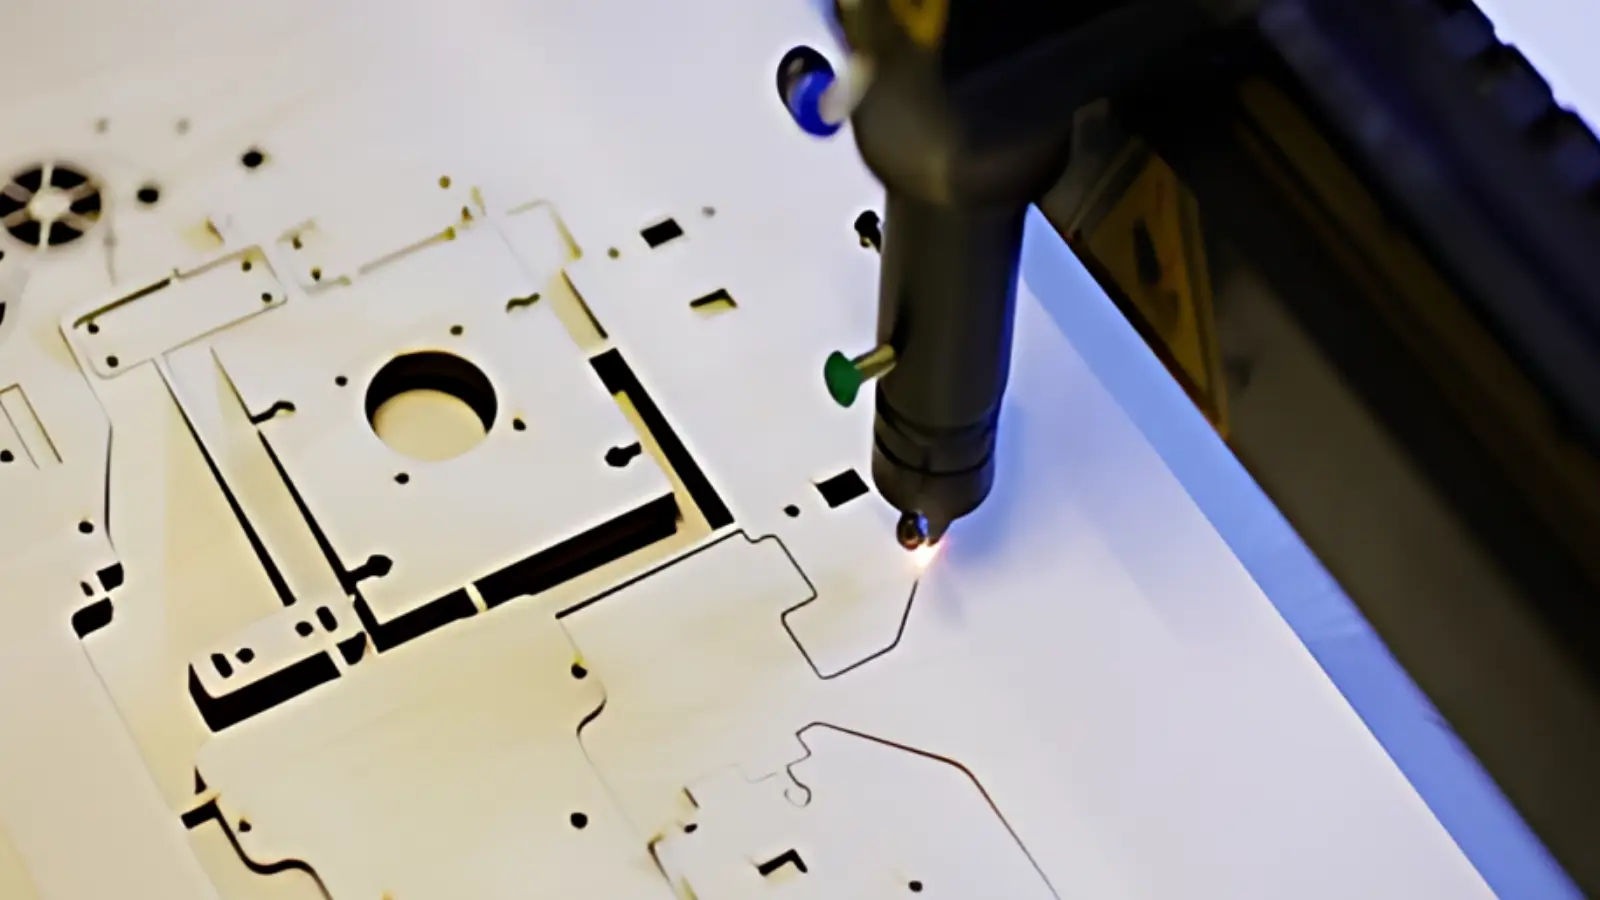
I think of a CNC router as a milling machine built for flat sheet. It’s big and it’s quick. The bed is usually about 1220 by 2440 mm, so a whole sheet fits, and the spindle screams along at anywhere from 10,000 to 24,000 rpm. Instead of clamps, a vacuum table sucks the sheet flat, so nothing sits in the cutter’s way. That’s perfect for panels. Front plates, back plates, lids, side walls. Cutouts, vent slots, countersunk holes and pockets all come out of one file, which is why Fresagem CNC suits box work so well.
The best part is there’s no mould. If you only need ten or fifty boxes, tooling is what kills the budget. A mould can cost thousands and take weeks to make. Routing costs the sheet and some machine time. Want to change something? Edit the file and cut again.
What Gets Routed
Plastics are the bread and butter: acrylic, ABS, polycarbonate, HDPE, Delrin. All of them route nicely. Aluminum is possible too. I usually see 5052 or 6061 up to around 6 mm, and the shop runs coolant or mist so the chips don’t weld to the cutter. G10 and other composites work, and MDF is handy for a quick mock-up. When a job needs thick blocks or very tight tolerances, I’d send it to a mill instead. Flat sheet is where a router really earns its keep.
What Tolerance to Expect
On cut features, ±0.1 mm is normal, and small parts can do a little better. The sheet itself is the wild card. Plastic sheet thickness varies by a few tenths of a millimetre, so a slot meant for a 3 mm panel shouldn’t be exactly 3 mm. Give slip fits 0.1 to 0.2 mm of clearance. Do I sound paranoid? Maybe. But I’ve never once regretted the clearance.
The Corner Radius Trap
A round cutter can’t make a sharp inside corner. If the tool is 6 mm across, every inside corner gets a 3 mm radius. Draw your pockets with that in mind. A square circuit board in a square pocket needs relief cuts in the corners, or a smaller tool, and a smaller tool takes longer. Slots and holes can’t be narrower than the cutter, either.
Joining the Panels
A routed box is just flat panels, so the joints matter. Tab-and-slot joints let plastic panels interlock before they’re bonded, and the box nearly squares itself. Screws into aluminum edges work if the hole is tapped, and M3 is a common size. In ABS, heat-set inserts hold a thread far better than a screw biting into raw plastic.
Want a dust and splash seal? Route a groove in the lid for an O-ring or foam gasket. It’s cheap to cut and it turns a box into something that can live outdoors. Just test it properly before you claim any IP rating.
Heat and Shielding
Electronics run warm, sometimes warmer than you’d expect. Cut vent slots high on one side and low on the other, and the air gets a path through. About 3 mm wide keeps fingers and most bugs out. One more thing: plastic does nothing for EMI. If shielding matters, go with aluminum or ask about a conductive coating.
Bordas e acabamento
Straight off the router, edges look matte and a little rough. Acrylic can be flame or vapour polished to a glassy edge, though that trick doesn’t suit every plastic. Aluminum needs deburring. A routed aluminum box looks great anodized, but anodizing adds a thin layer, so leave a bit of room in tight slots. Labels can be routed in too. Fill the lettering with paint and they’ll last.
Design Habits That Save Money
Most of a good Custom Enclosure comes down to a few boring habits. Plan around standard sheet sizes. A good shop nests your parts to waste less material, but you can help by keeping panels reasonably small. Stay around 3 mm for plastic walls. Thin, wide panels can warp or lift off the vacuum table, so don’t go huge and flimsy.
Small tabs hold parts in place while they’re cut. Afterwards they leave tiny nubs, so ask the shop where they’ll go. Keep holes at least as wide as the cutter. And measure the real connector, not the one in the datasheet drawing. Look at the actual part if you can.
When Routing Stops Making Sense
Routing is great up to a few hundred boxes. Past a few thousand, injection moulding takes over, because the tooling cost spreads thin and each part gets cheap. Plenty of people route the first batch, find the problems, fix the file, and only then commit to a mould. That’s money well spent. A mould with a mistake in it is an expensive mistake.
What to Send for a Quote
A DXF for the panels and a STEP file for the whole box. The sheet material and thickness. Quantity, colour and finish. If the board has connectors, send their datasheets or photos with the exact positions. And order one sample first. Check that the board, the cables and the lid all behave, then release the batch.
Wrapping Up
CNC Routing gets you a box quickly and without tooling. Allow for the cutter radius. Leave a little clearance. Plan the joints and the vents early. Do that and your electronics get a box they actually fit in, instead of a second round of drawings.