Korean
 English
 German
 Russian
 Japanese
 Spanish
 French
 Italian
 Portuguese

Brushing leaves parallel abrasive lines; polishing removes material to a smooth, non-directional surface. For functional grips or texture specs, brushing is the faster, lower-cost route. For mirror or reflective finishes, polishing is the only option. Your grit range and pass count decide the final look, not the alloy grade alone.
Buyers specifying aluminum surface finishing often hit the same wall. The drawing says “brushed” or “polished,” but nobody defined grit sequence, line direction, or the light source for visual acceptance. The result is a part that arrives looking wrong, a rework cycle, and a schedule slip. YPMFG engineers flag this gap on a large share of quote requests for machined CNC 알루미늄 부품. The fix is defining the finish in measurable terms before the first cut.
Key Takeaways
- Surface texture: Brushing leaves directional lines at 100 to 400 grit; polishing removes texture to below 0.2 µm Ra.
- Cost: Polishing multiplies passes and often adds 30 to 50 percent to the finish step on the same 6061 part.
- 조립: A brushed face raises grip friction; a polished bore cuts insert resistance by several microns.
- 검사: Polished surfaces need a 40-lux diffuse source; brushed surfaces are judged at a 45-degree angle.
Brushing vs Polishing: Side-by-Side
Brushing is the default when texture is the goal; polishing is the default when reflectivity is the goal. If the spec is ambiguous, the rework cost lands on the buyer.

What Actually Changes on the Aluminum Surface?
Brushing is controlled abrasion. An abrasive strip lays down parallel lines at a fixed grit, removing a thin layer of aluminum oxide and underlying metal. The result is a uniform directional texture that scatters light along the brush direction. Polishing works through progressive compaction and fine material removal. A grit sequence from 600 up to 8000 smooths microscopic peaks, raising reflectivity toward a mirror.
The critical difference is directionality. Brushed aluminum always shows lines; no grit size eliminates them. Polished aluminum shows no lines, but the finish is sensitive to tooling marks and hand contact. Neither process changes the base alloy chemistry. Both leave the surface vulnerable to oxidation unless anodized or sealed.
Brushing cannot produce a mirror finish, no matter how fine the abrasive gets. Once you need a reflectivity spec, the process switches to polishing and the fixture design changes completely.
Which Aluminum Grades Behave Differently?
Most machined parts use 6061 알루미늄 or 5052. Both take brushing well. The 6061 shows a clean, consistent line because its grain structure is fine. 5052 is softer; under a coarse grit it can show slight smearing, so start at 220 rather than 100. 7075 polishes slower because the abrasion rate drops on a harder alloy. Expect more passes on 7075 to reach the same reflectivity.
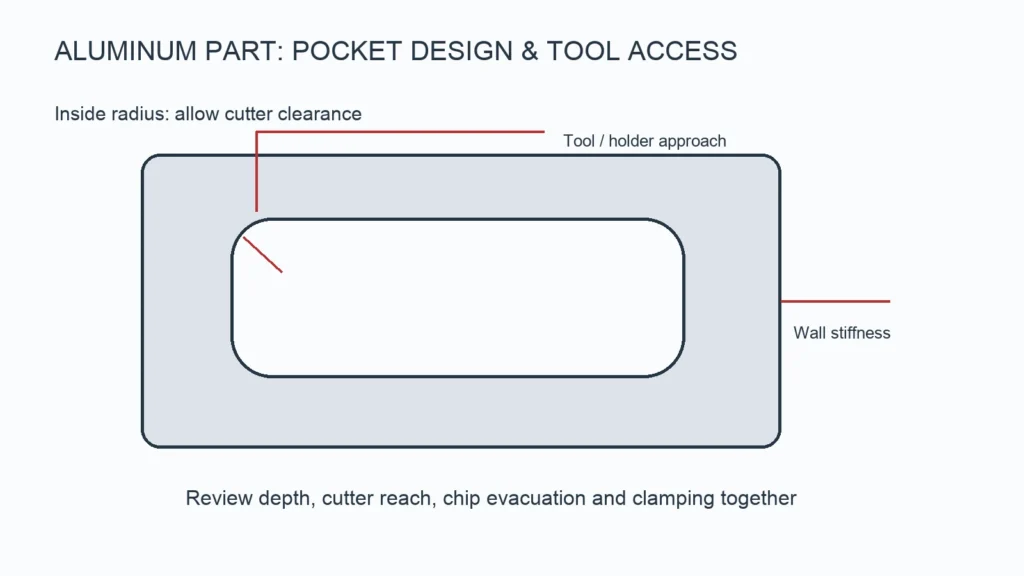
Wall thickness matters. A 5052 panel under 0.5 mm will flex under polishing-wheel pressure, producing uneven banding. For thin-walled or complex-geometry parts, a soft-jig fixture prevents distortion. YPMFG flags these thickness limits during DFM review before the part enters the finish queue.
No grit sequence can polish a cast or near-net-shape surface to a mirror without first machining it to a close dimensional. Casting porosity shows through even at 8000 grit.
How Do You Spec Roughness and Tolerances?
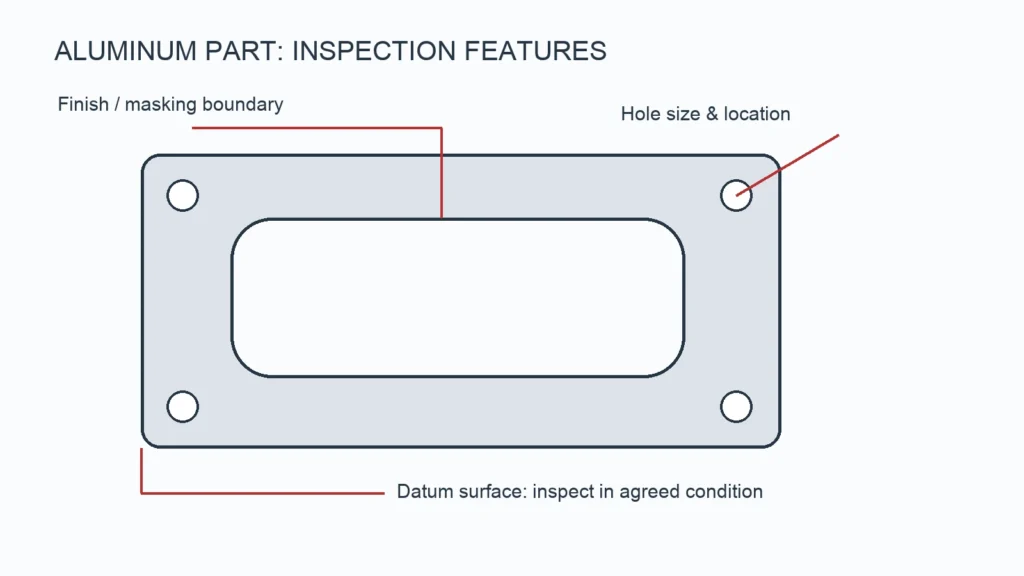
The most common spec gap is calling a finish “polished” without a measurable target. Reference ISO 4287 for roughness parameters. For brushing, call out grit range and line direction relative to the part datum. For polishing, specify a maximum Ra value: 0.4 µm for satin, 0.2 µm for mirror. Pair that with a light-source standard, typically 40 lux for satin and 100 lux for mirror.
Dimensional tolerance follows ASME Y14.5 또는 ISO 2768. Finish operations remove material, so a Ra spec on a bore means the bore is now slightly smaller than the machined dimension. Call out a finish allowance in the drawing and state whether tolerance is before or after finishing. Without that note, the inspector will reject a part that is actually in spec.
Polishing a wall thinner than about 2 mm to a 0.2 µm Ra spec risks ovality. Material removal is not uniform across a thin section. Raise the Ra target or add a fixture that supports the opposite face.
What Mistakes Trigger Rework?
Four errors show up in pre-production reviews more than any other. Brushing direction set against the natural grip orientation, so lines run across the hand path. Specifying “polished” with no Ra or reflectivity target, leaving the operator without an objective pass or fail. Skipping deburr before brushing, so a burr catches in the strip and drags a scratch across the face. Forgetting that bare polished or brushed aluminum surface oxidizes within hours. If the part is not anodized or sealed in the same shift, the visual spec fails at incoming inspection.
Plan the anodize step in the same routing, not as a separate purchase order. No post-hoc treatment can fully restore a scratched or oxidized brushed finish. The lines must be re-laid.
How a 6061 Part Moves Through the Finish Line
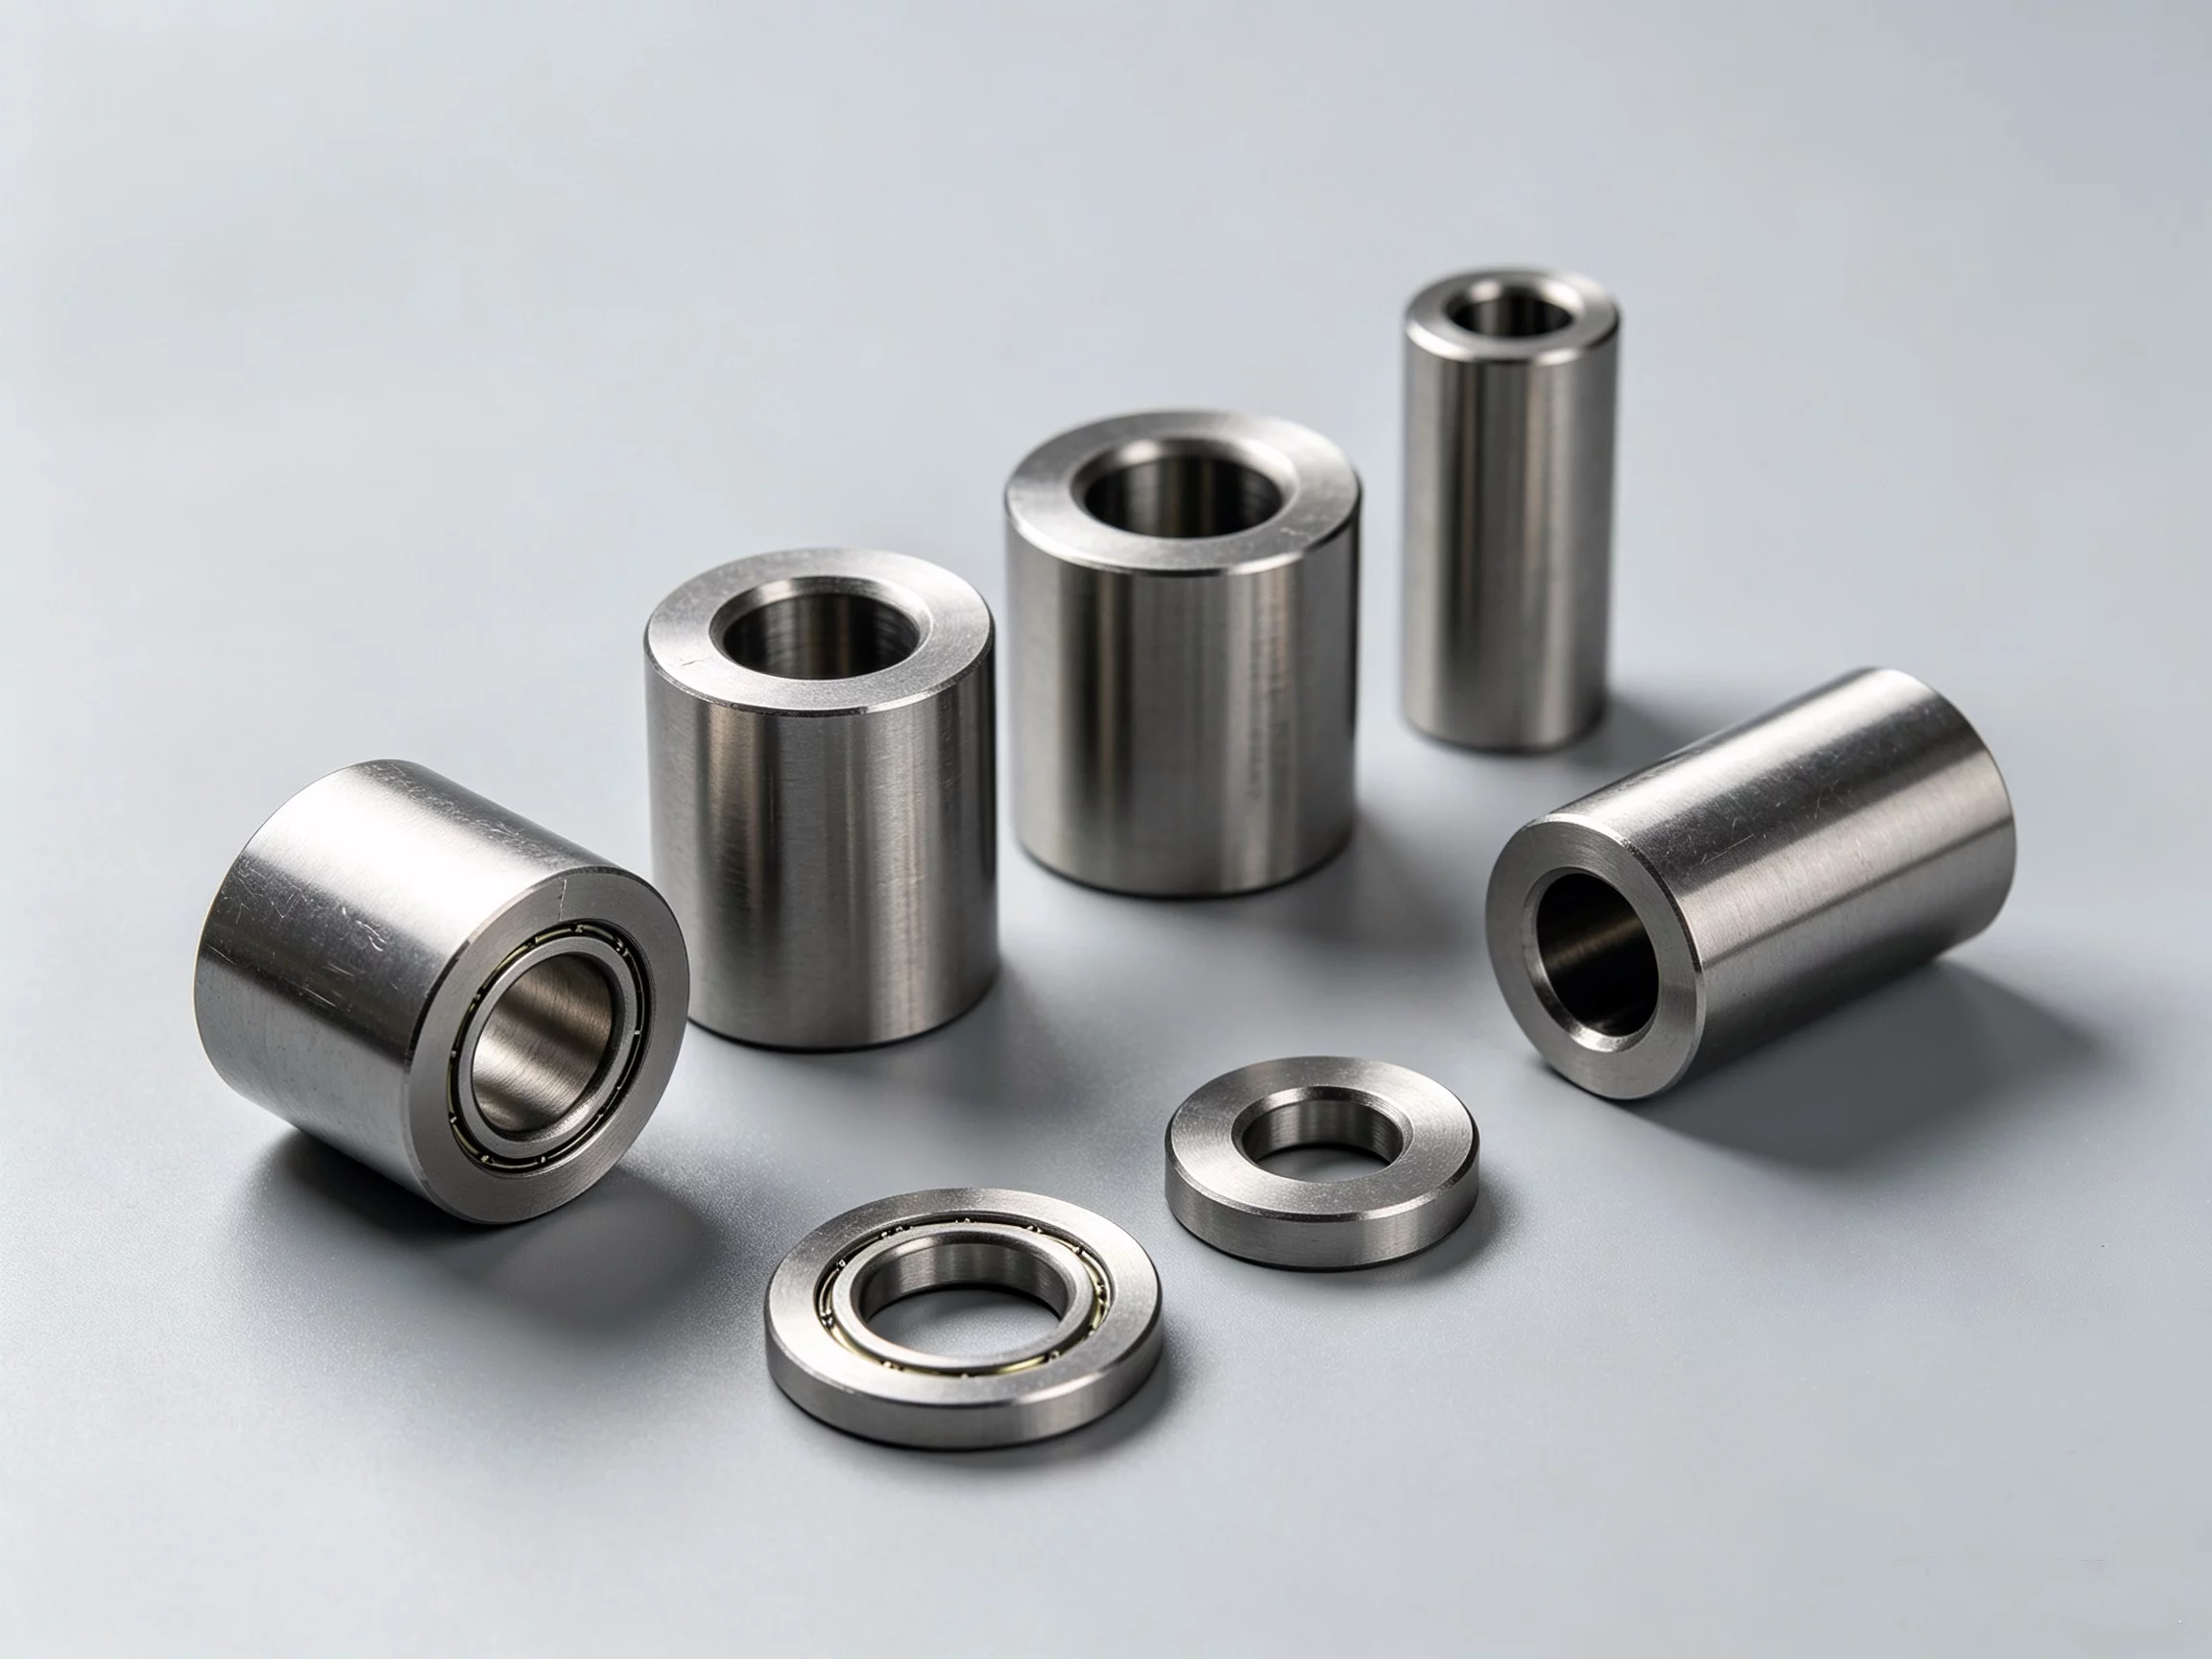
Consider a 25 mm OD 6061 cylinder, brushed exterior, polished 10 mm bore, 80 mm long. The routing follows six steps:
- Turn and drill on a 3-axis CNC, holding 0.05 mm tolerance per ASME Y14.5.
- Deburr all edges to prevent abrasive catching.
- Brush the OD with a 220-then-400 grit strip, direction parallel to the axis.
- Polish the bore in three passes: 600, 1500, and 3000 grit.
- Anodize to an 8 µm black finish.
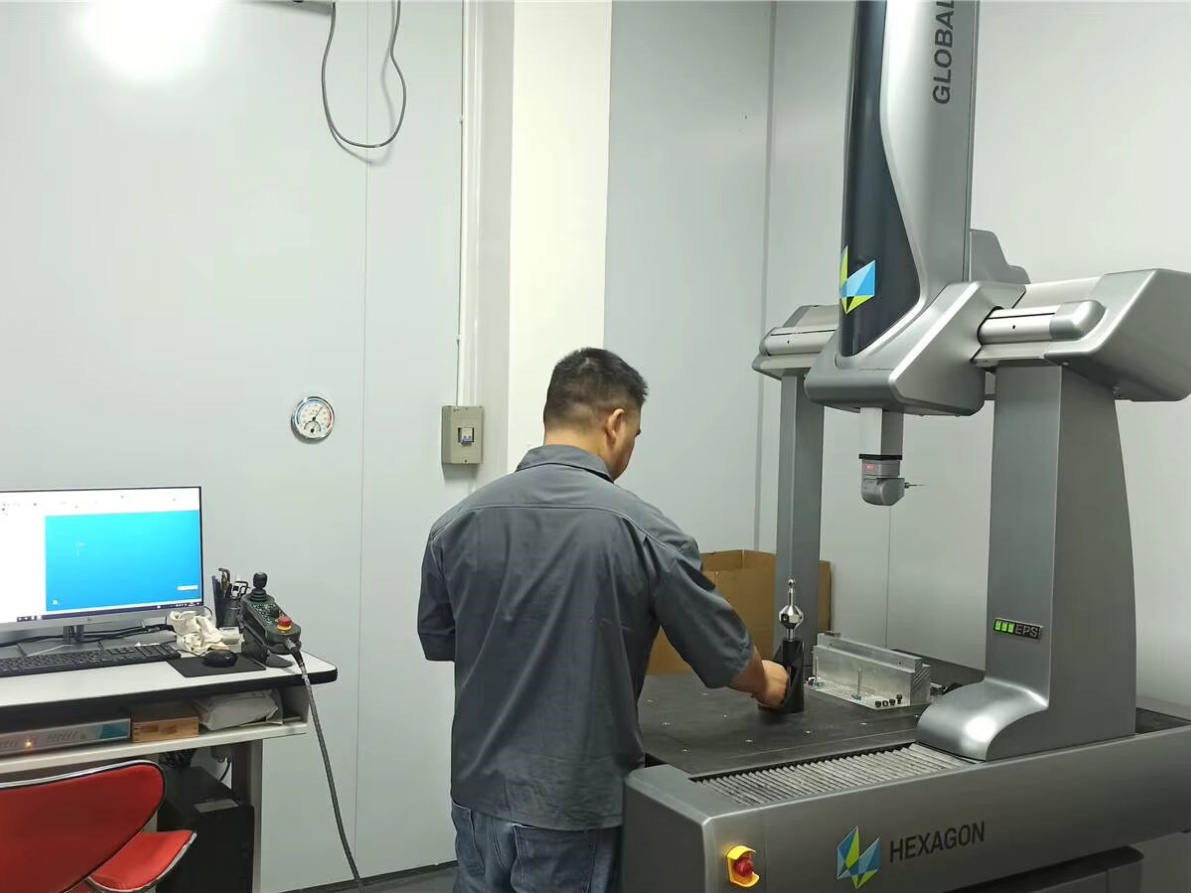
- Run FAI under a 40-lux light; take Ra spot-checks at three bore points; verify OD line uniformity at 45 degrees.
Each step has a control point: grit continuity, fixture alignment,and anodize timing. Skipping deburr or delaying anodize past a shift is where failures cluster.
Process Route Reference: YPMFG process library, reviewed against published tooling data. Client-specific dimensional data withheld per NDA.
Flat faces wider than 100 mm on a single polishing pass can show banding from wheel deflection. Split the face into overlapping zones or switch to a flat-stoning setup.
Practical Questions Before You Order a Finish
Can brushing make aluminum look as good as polishing? No. Brushing leaves visible parallel lines at any magnification. If the spec requires a smooth, non-directional surface, brushing will not pass visual inspection.
Does polishing improve corrosion resistance? It does not. Bare polished aluminum oxidizes within hours of air exposure. If the part faces a salt-spray or humidity environment, anodize or seal after polishing. Polishing alone is a visual process, not a protective one.
What grit range should I call out for a brushed 6061 part? Start at 220 grit for a pronounced line and go to 400 grit for a subtler texture. Finer than 600 grit stops reading as brushed and starts reading as polished. Pick the range that matches your visual target.
Can one part be brushed outside and polished inside? Yes, if the fixture allows independent access to each surface. Plan the jig or soft-clamp design during DFM. A single fixture that holds the part for both operations saves one setup and keeps the datum consistent.
Choosing the Right Finish for Your Next Run
The decision between brushing and polishing comes down to one question: is the finish functional or decorative? Functional finishes serve grip, texture, or corrosion management. Decorative finishes serve reflectivity and visual uniformity. Answer that question on the drawing before you release the order, and the finish step becomes a measured process instead of a judgment call.
YPMFG reviews aluminum part drawings for finish feasibility, grit sequencing, fixture design, and anodize timing. Send your specifications and a brief application note. An engineer will flag any DFM conflict, confirm the grit route, and return a process routing sheet with the quote. If the drawing needs a second pair of eyes before you commit tooling time, that is the fastest way to avoid a rework loop.