Italian
 English
 German
 Russian
 Japanese
 Korean
 Spanish
 French
 Portuguese

A customer called me once, pretty annoyed. His QR code scanned fine on the prototype. Then it failed on every single part in the production batch. Same file, same machine, same shop. All that changed was the order of two steps. The prototype got marked after anodizing. The batch got marked before. And a crisp code turned into a grey smudge. I see this slip a lot, and it’s easy to dodge once you know what each step does to the surface.
Why the Order Matters
A mark is a change to the surface. So is a finish. Do them in the wrong order and one wipes out the other. A coating can fill a shallow mark. Blasting can scuff it. An anodize bath can leave it faint and low in contrast. So the question isn’t just what goes on the part. It’s when.
Why Bother With Marks at All
Honestly, nobody cares about marks until a batch goes wrong. Then everybody does. A serial number is how you work out which machine, which day and which lot made the bad ones, and that can be the difference between pulling fifty parts and pulling five thousand. Medical and aerospace buyers simply ask for it up front. Even a plain logo earns its place, because it stops people mixing your part up with a cheap copy. A QR code is handy too, since one scan can pull up a manual or a reorder page. But all of it depends on the mark being readable, so we’re back to the order.
How Marks Get Made
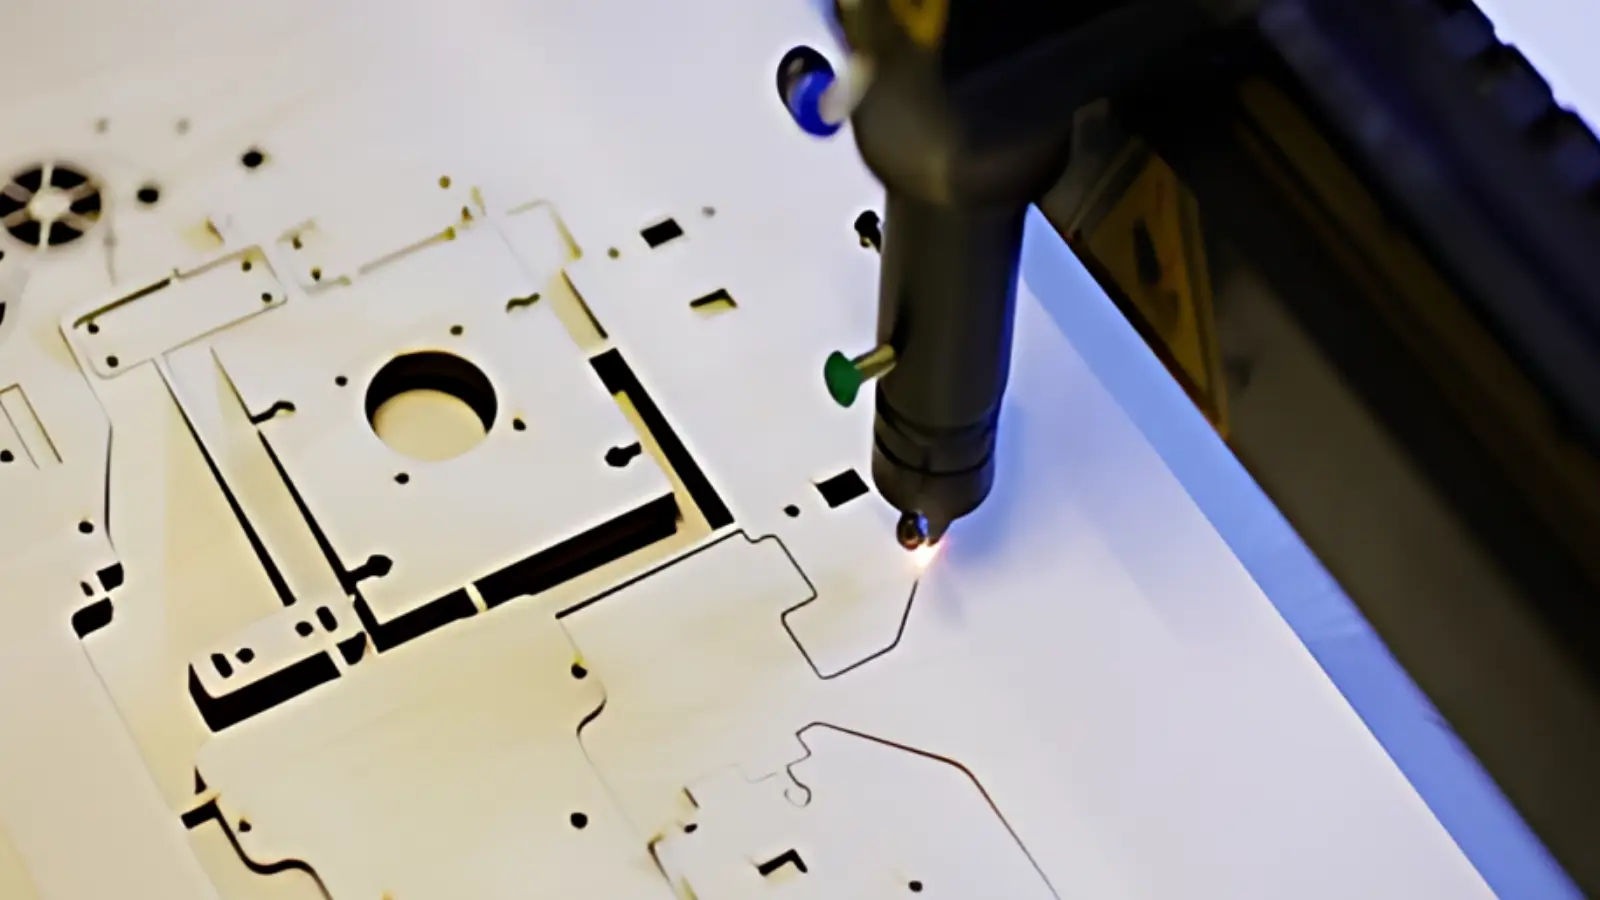
Marcatura dei componenti on metal usually means a fiber laser. The beam burns in whatever you send it: a serial number, a barcode, a QR code, a logo. It doesn’t wear off like ink and it doesn’t peel like a sticker. A real engraving removes a little metal, somewhere around 0.02 to 0.1 mm. Stainless offers a neater trick. The laser can heat the surface just enough to darken it, with almost nothing cut away, so corrosion resistance stays more or less intact.
Plastics, wood and acrylic usually go under a CO2 laser instead. Then there’s dot peen, where a tiny stylus hammers a row of dents into the part. It looks rougher, but I reach for it on curved or gritty surfaces where a laser gives up.
How Finish Changes the Mark
What you choose for Finitura delle superfici decides where the mark belongs. Here’s how the usual ones play out.
Anodized aluminum is the easy case, as long as you get the order right. Mark it after anodizing. The laser burns through the thin coloured layer and shows bare silver metal underneath, so a black part gets a bright white code. Mark before, and most of that contrast vanishes.
Powder coat and paint are thick, around 0.1 mm, enough to swallow a shallow engraving whole. So mark after coating. The laser simply blasts the coating off and leaves a sharp line of bare metal.
Bead blasting is a pain for small marks. The surface turns rough and matte, and fine lines disappear into it, QR cells especially. Either leave a small smooth patch where the mark will go, or mark after blasting and accept a bit less contrast.
Plating and electropolish are the odd ones. They can change how a mark looks, and sometimes they erase it. Ask the shop whether to mark before or after, because it depends on the plating.
Un breve esempio
Say you’ve got 500 aluminum housings, black anodized, each needing a serial number and a QR code. Mark them before anodizing and you get faint grey codes that half your scanners refuse. Mark them after and you get bright white codes on black that scan first time. Same laser, same file, same cost. Only the order changed. If the batch gets powder coated instead, the answer is still “after.”
Making Codes That Scan
Here’s a thing that trips people up. A code can look perfect to you and still fail on a scanner. What the scanner wants is contrast. It also wants an empty margin around the code, so don’t crowd it. Cells smaller than roughly 0.25 mm become difficult to read, so don’t merely make the code smaller to fit it in. Flat is always better than curved or textured. And before the full batch runs, scan one sample. Five minutes, tops.
Where to Put It
Pick a flat spot. Stay away from edges, threads, sealing faces and anything that gets bolted down or rubbed. Text about 1 mm tall or more reads well, and bigger is easier. If the part gets handled a lot, think about wear, because a mark on a grip surface fades while one on a side face lasts. Think about how the part sits once it’s installed, too. A code on the hidden side is a code nobody scans, and I’ve seen perfect marks end up facing a wall.
Files, Cost and Lead Time
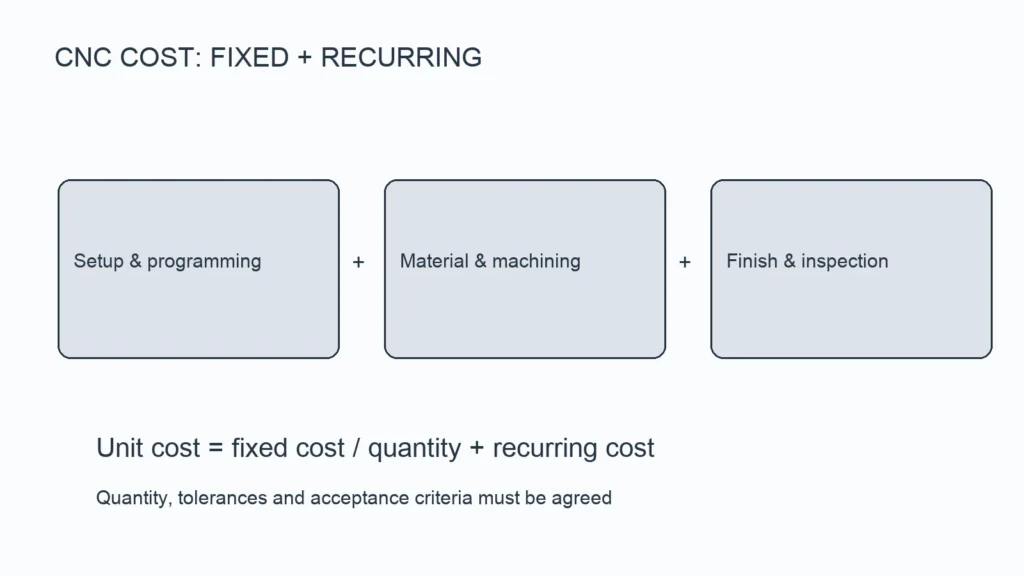
Marking is cheap compared with machining. Most of the time goes into setup, so the bigger the batch, the less each part costs. Send logos as vector files (DXF, AI or SVG). A blurry image makes a blurry mark, every time. For serial numbers, give the format and the starting number, or just send a spreadsheet. Tell the shop which face and what size. And if your customer needs a specific character height or code grade, mention that now, not later.
Conclusione
So, before or after? On anodized parts, after. Powder coat and paint, after too. Blasted parts need a smooth patch. Plated parts? Ask the shop. Whatever you do, scan a sample first. It takes minutes and can save a whole batch.